
Multi-colour 3D printing guide
Why colours bleed through a print—and how to stop it.
Surface detail is not only a surface-layer problem. The infill, walls, and colours beneath a feature can change how the finished print looks, particularly when pale or translucent filament is involved.
The short answer
Give each visible colour enough physical depth.
A slicer can show a perfect colour on the final layer while darker material continues directly underneath it. Light passes into many filaments before reflecting back, so a shallow pale detail can inherit a muddy tint or visible shadow from the material below.
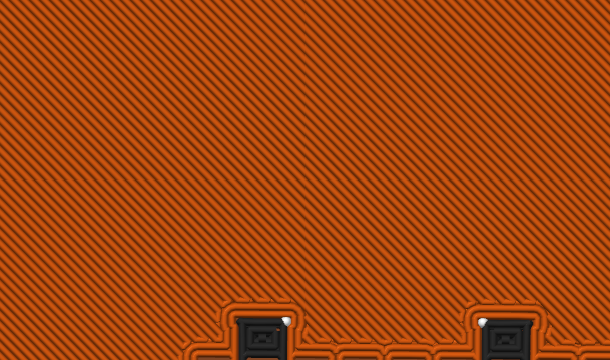
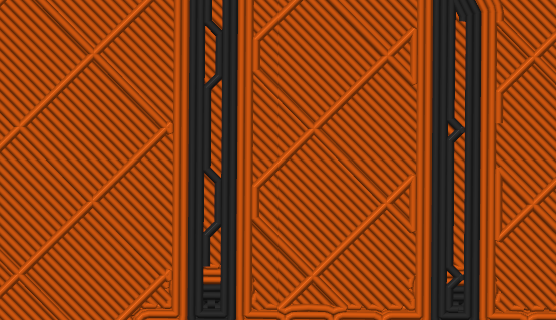
Three common causes
Where colour contamination begins.
Shallow coloured features
A colour assigned only to the uppermost layers may not be optically thick enough to hide the material beneath it.
Light or translucent filament
White, yellow, pastel, natural, and translucent materials can reveal darker toolpaths below more readily than opaque dark colours.
Infill beneath fine artwork
Body infill can continue under lettering, logos, or linework unless the design becomes a genuinely separate volume.
A cleaner workflow
Separate the material—not just the final colour.
3D Print Material Divider converts selected recessed details into aligned, watertight inlay volumes at a depth you choose. The body and detail occupy separate space through those layers, giving pale colours more material thickness and preventing the main body infill from running directly underneath.
- Inspect the sliced layers. Look below the visible surface and identify which material occupies the depth beneath each detail.
- Choose a practical inlay depth. Base it on layer height, filament opacity, feature width, and the strength the part needs.
- Export aligned parts. Use an assembled 3MF or aligned STL set, assign materials in your preferred slicer, and preview every transition before printing.