
Electronics bench guide
Build an electronics workstation that helps you think.
A good prototyping bench keeps the circuit, power, controls, measurement points, and components visible and within reach. The goal is less interruption between an idea and a working test.
Start with the workflow
Organise around what you repeatedly reach for.
Bench space disappears quickly when every experiment needs separate power supplies, loose breadboards, switches, indicator LEDs, probes, and component boxes. A useful workstation groups the common functions while leaving room for the circuit itself.
Six practical zones
What an integrated electronics lab needs.
Breadboard area
Enough uninterrupted prototyping space for the circuit, modules, and clear signal routing.
Controlled power
Accessible voltage rails, current awareness, clear polarity, and a deliberate way to switch power.
Inputs and controls
Reusable switches, potentiometers, buttons, and signal connections reduce temporary wiring.
Outputs and indicators
LEDs and display points make circuit state visible while you test and diagnose.
Measurement access
Easy probe points and tidy reference connections make measurements repeatable.
Parts and expansion
Keep common components nearby and leave a clear route for larger projects and specialist modules.
The Breadboard Genius approach
One lab, arranged as a complete working surface.
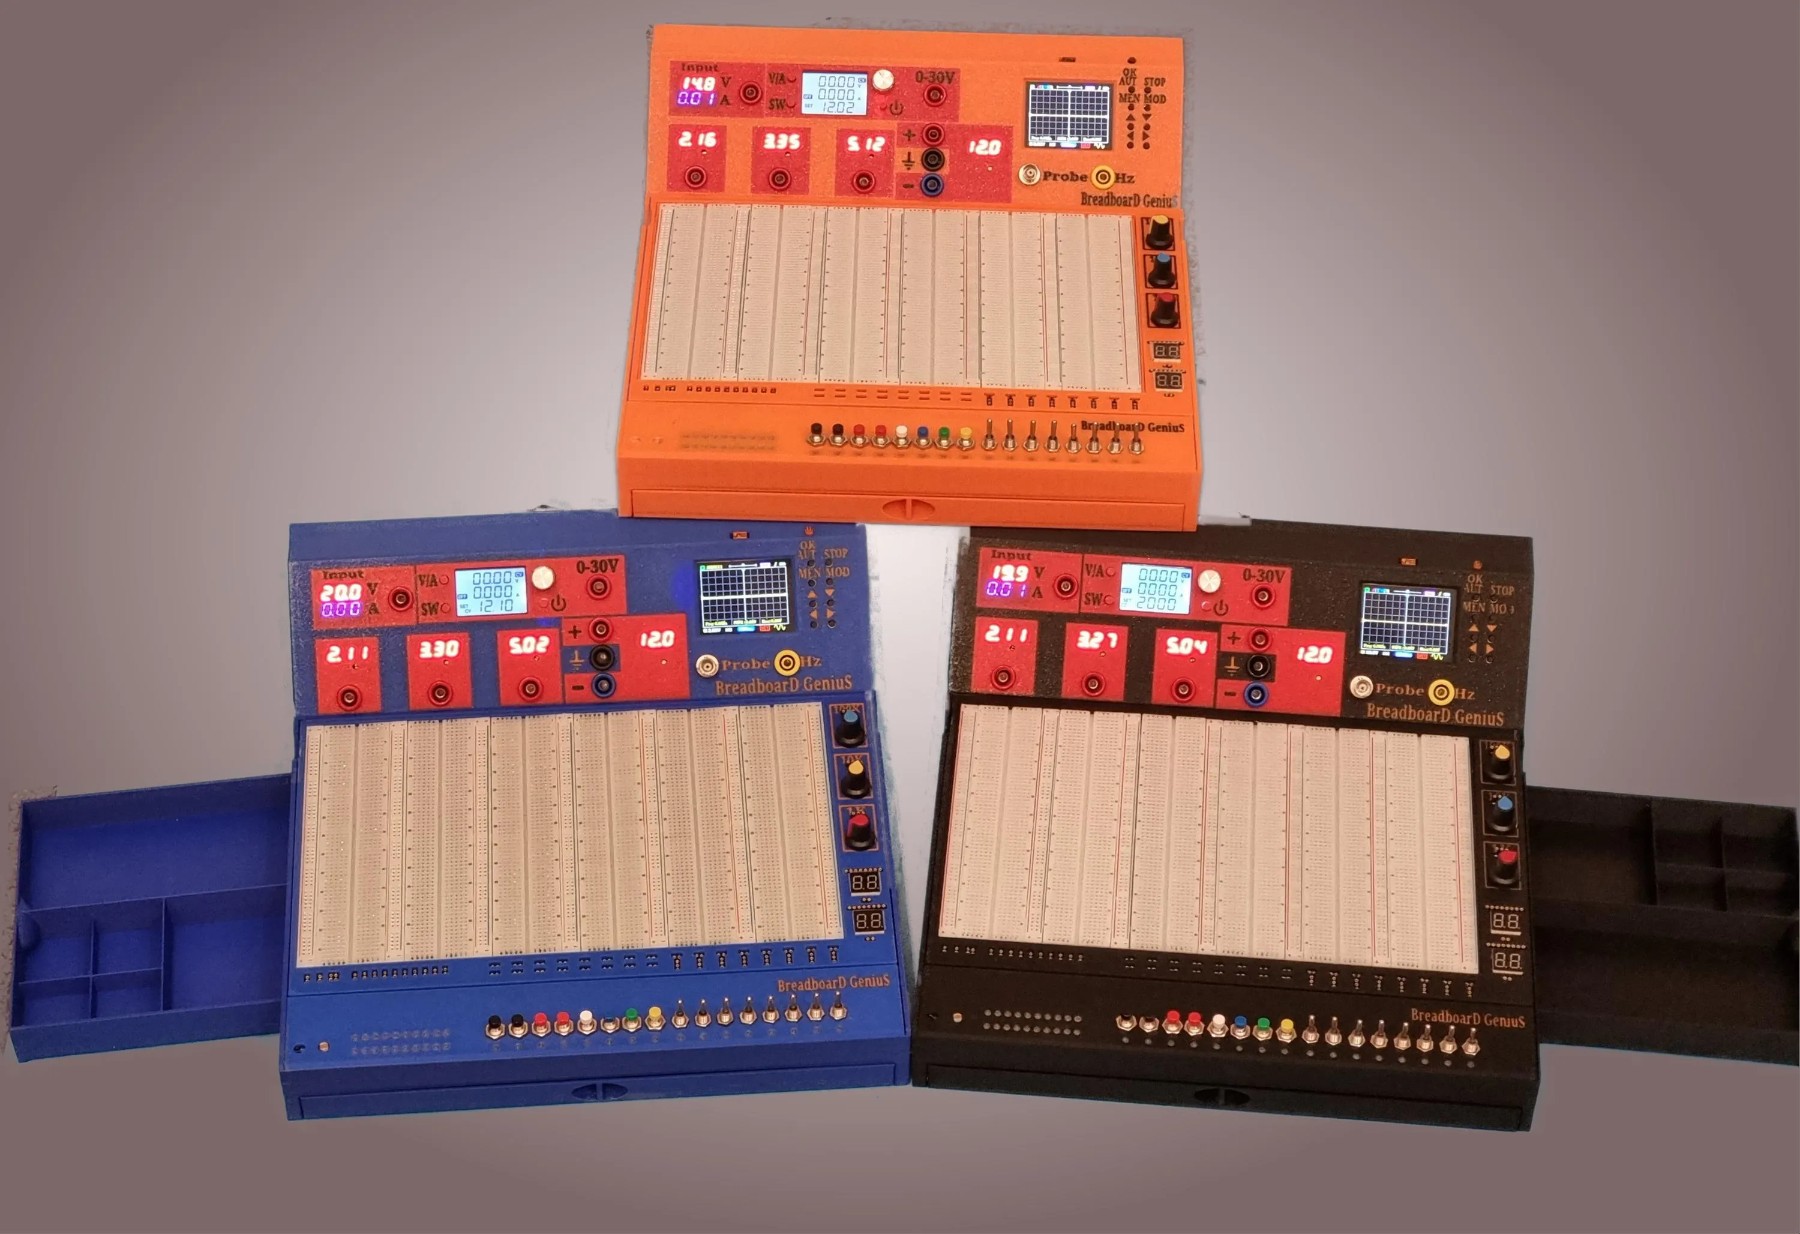
Breadboard Genius integrates the everyday parts of electronics experimentation into standard and XL workstations, with expansion units for additional capability. It is designed for makers, students, educators, and engineers who want to spend more time understanding the circuit and less time rebuilding the bench around it.